One aspect of Lego is that you need some space to play. At some point I had used an Ikea Lack with a 48×48 Lego baseplate for my son play. But quickly ran out of space and were constantly falling to the ground. So I decided to create a larger Lago Play Table with the future possibility of having storage.
Assembly
For this I used an OSB board. The first step was to see the size of six Lego 48×48 baseplates (in a 3-by-2 configuration).
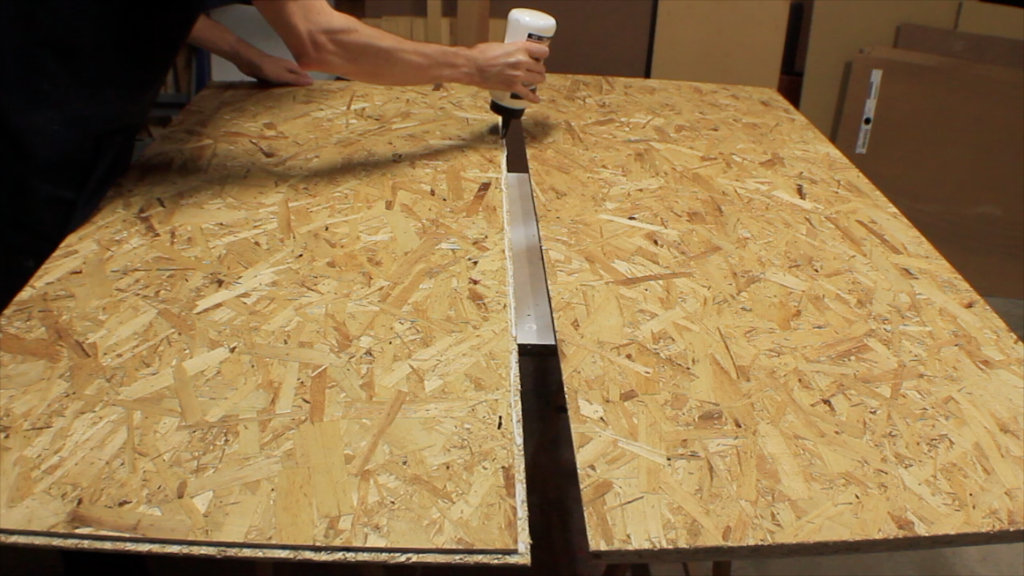
Then, as the OSB board did not have enough width, it was necessary to cut it lengthwise and join it laterally. Because the OSB has a docking groove, it was only necessary to apply glue and join.
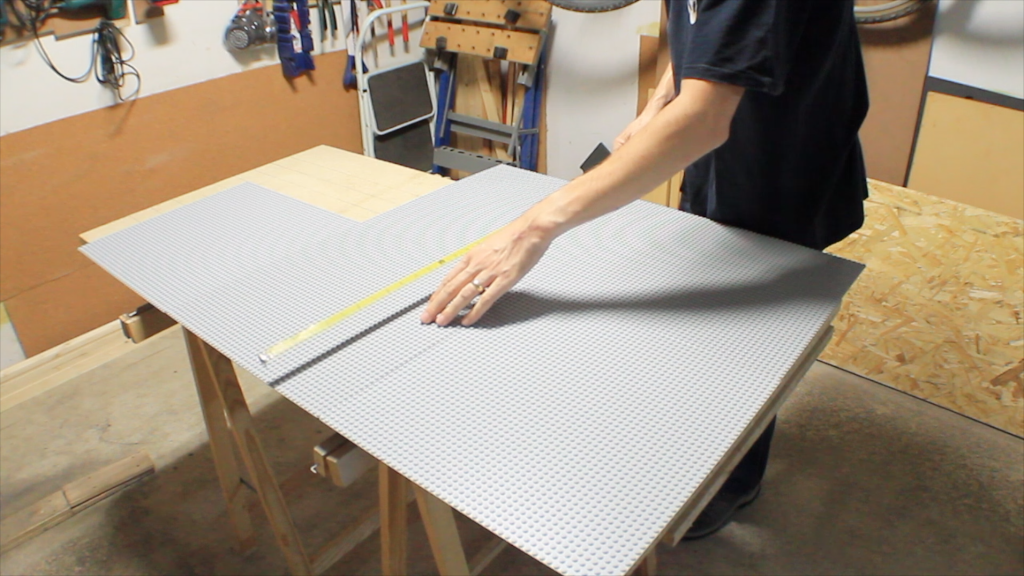
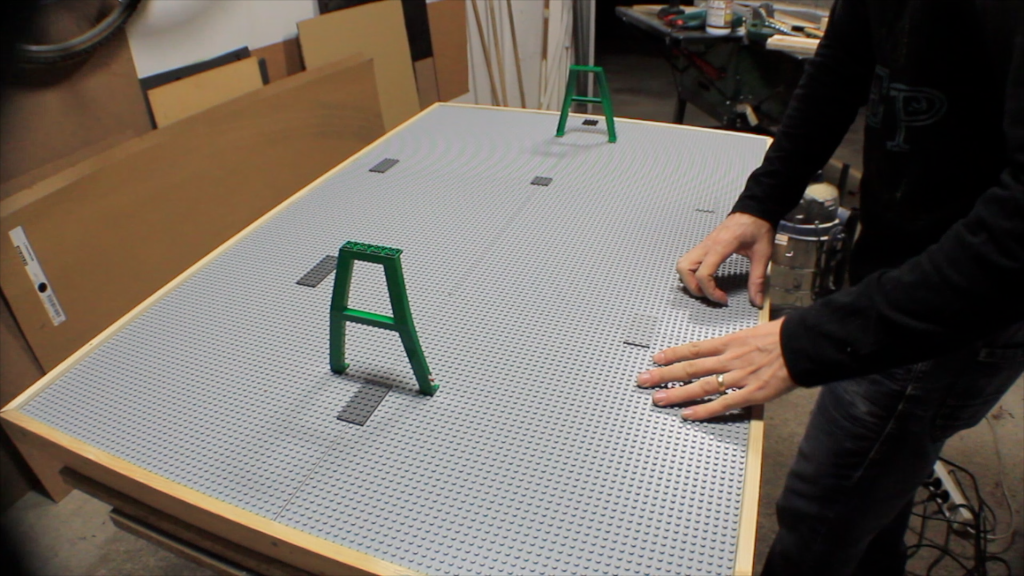
After the glue was dry, it was necessary to cut the new OSB board to the size of the baseplates. For this I put the baseplates on the OSB, joined with LEGO blocks and marked the area. It was necessary to join with lego blocks due to the space between them. For a block to fit into two baseplates simultaneously, there must be a space between them.
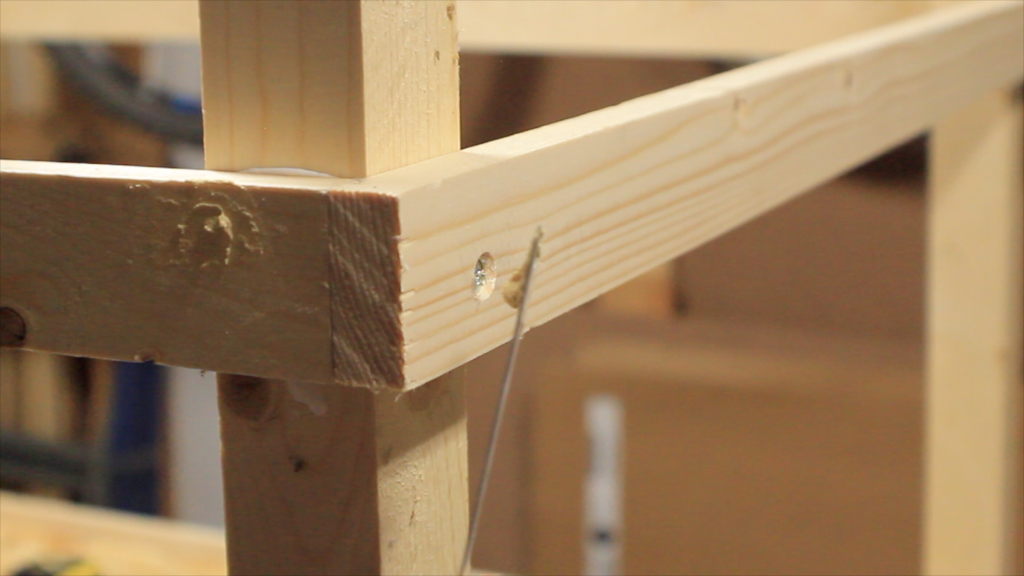
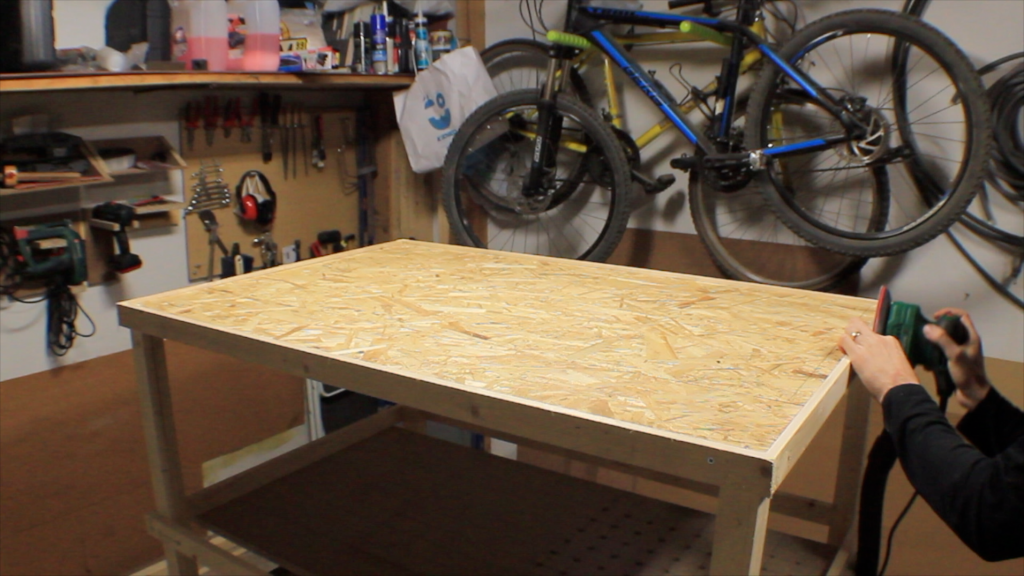
After the cuts were done I sand the area and started the construction of the legs and the sides. For the legs i used a 2cm x 2cm and for the sides 2cm x 1cm. The sides were cut to size and the end’s on a angle.
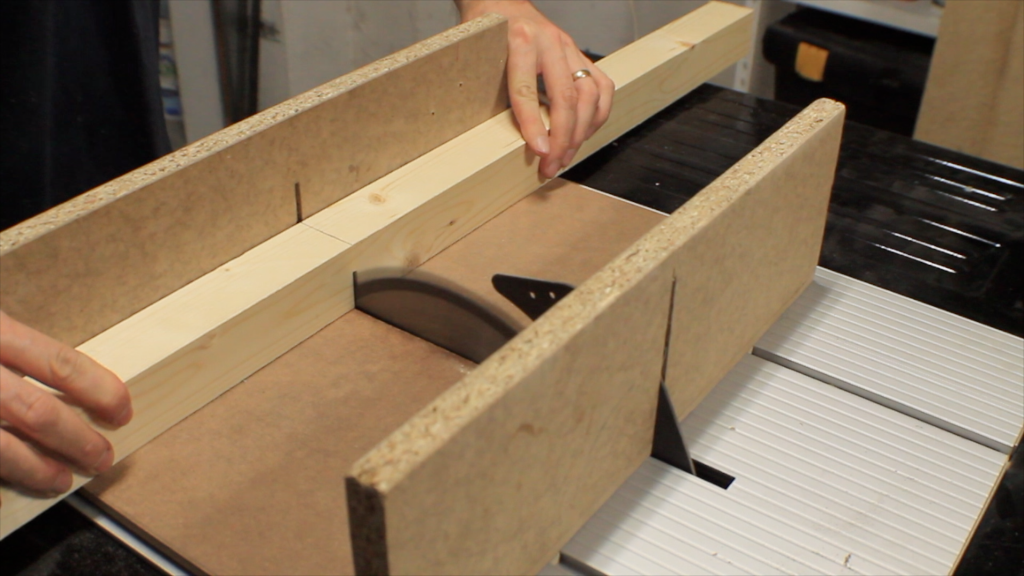
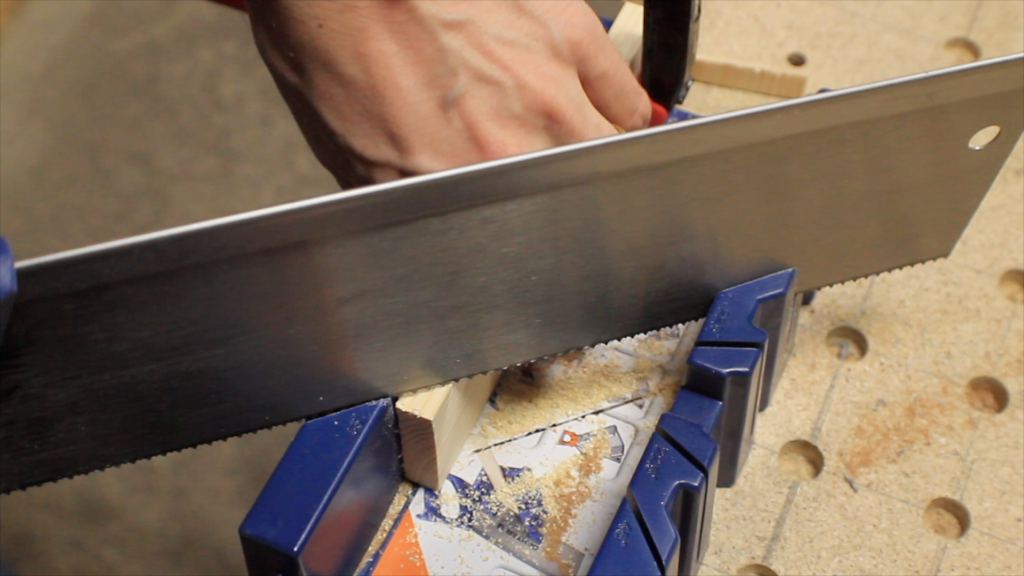
After being ready they were applied to the OSB using wood glue and fixed temporarily with nails to dry. Subsequently screws were applied.
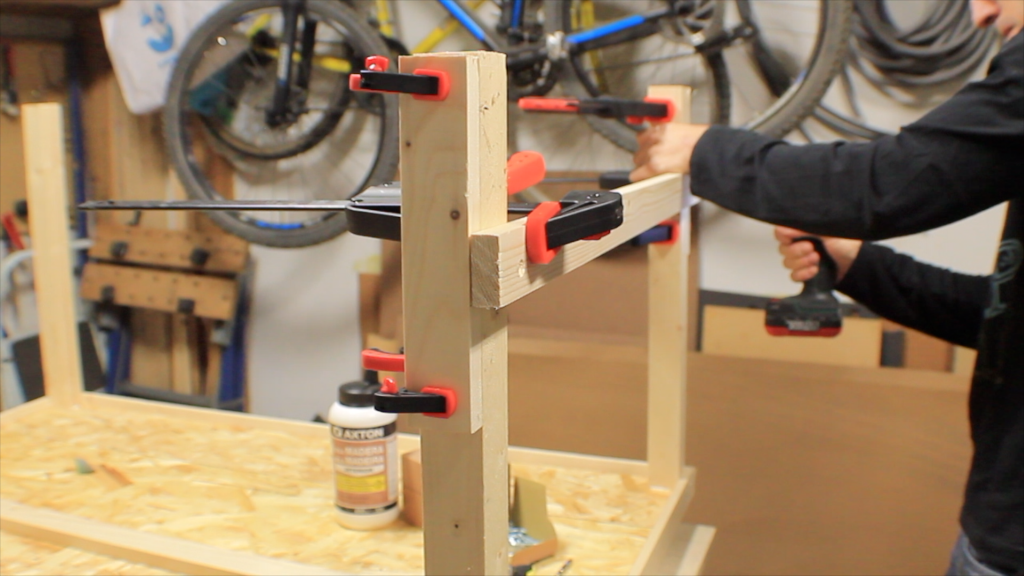
After the glue dries and the screws in place, I confirmed the space of the baseplates and began to install the legs. These are fixed to the sides of the OSB with screws.
In order to be able to install a shelf in the future, I applied a support to join all the legs. This stand will be the base of the shelf.
Finish
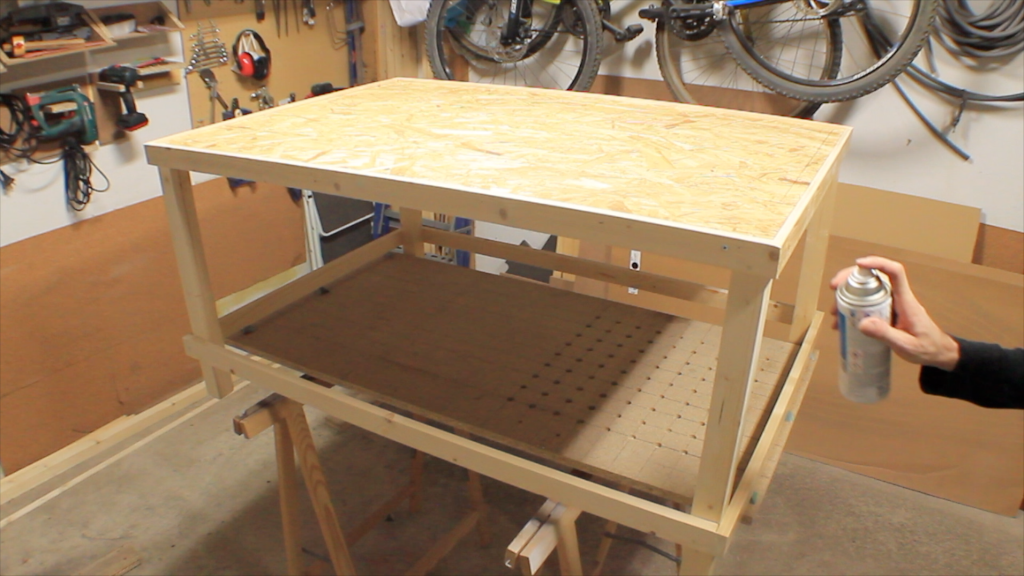
In order to finish, I filled the spaces of the screws and the empty spaces with wood paste, after which the whole table was sanded and varnished, except for the OSB, because the baseplates will be glued to it and the varnish could make the process difficult.
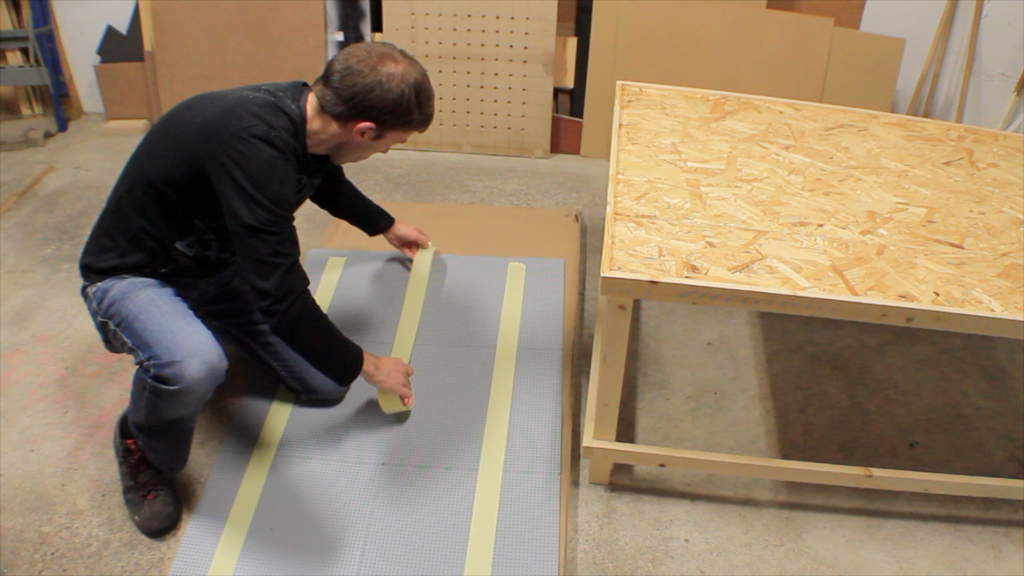
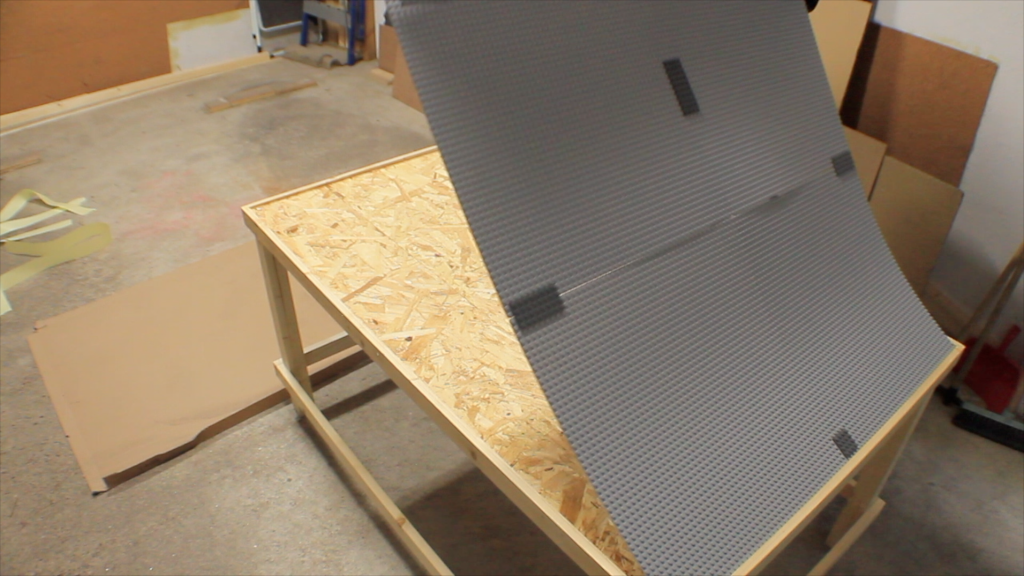
The baseplates were arranged in position and applied double sided tape. Then I applied them to the table taking care to check if there were areas that were not seated.
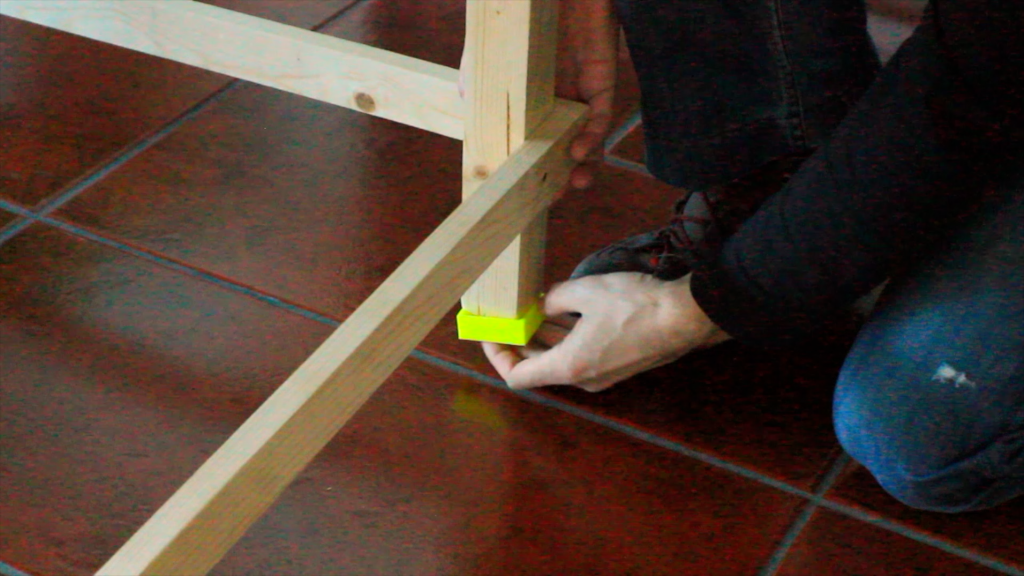
To prevent the table from shifting and damaging, i print on flexible PLA some feet that were fitted to the legs.
In the future I will build a shelf to be able to store Lego that is not in use.


Adorei o projecto. Talvez monte uma para as minhas filhas 🙂
Parabéns por documentares o projecto.
Obrigado Francisco. É um óptimo projecto para que gosta de Lego.